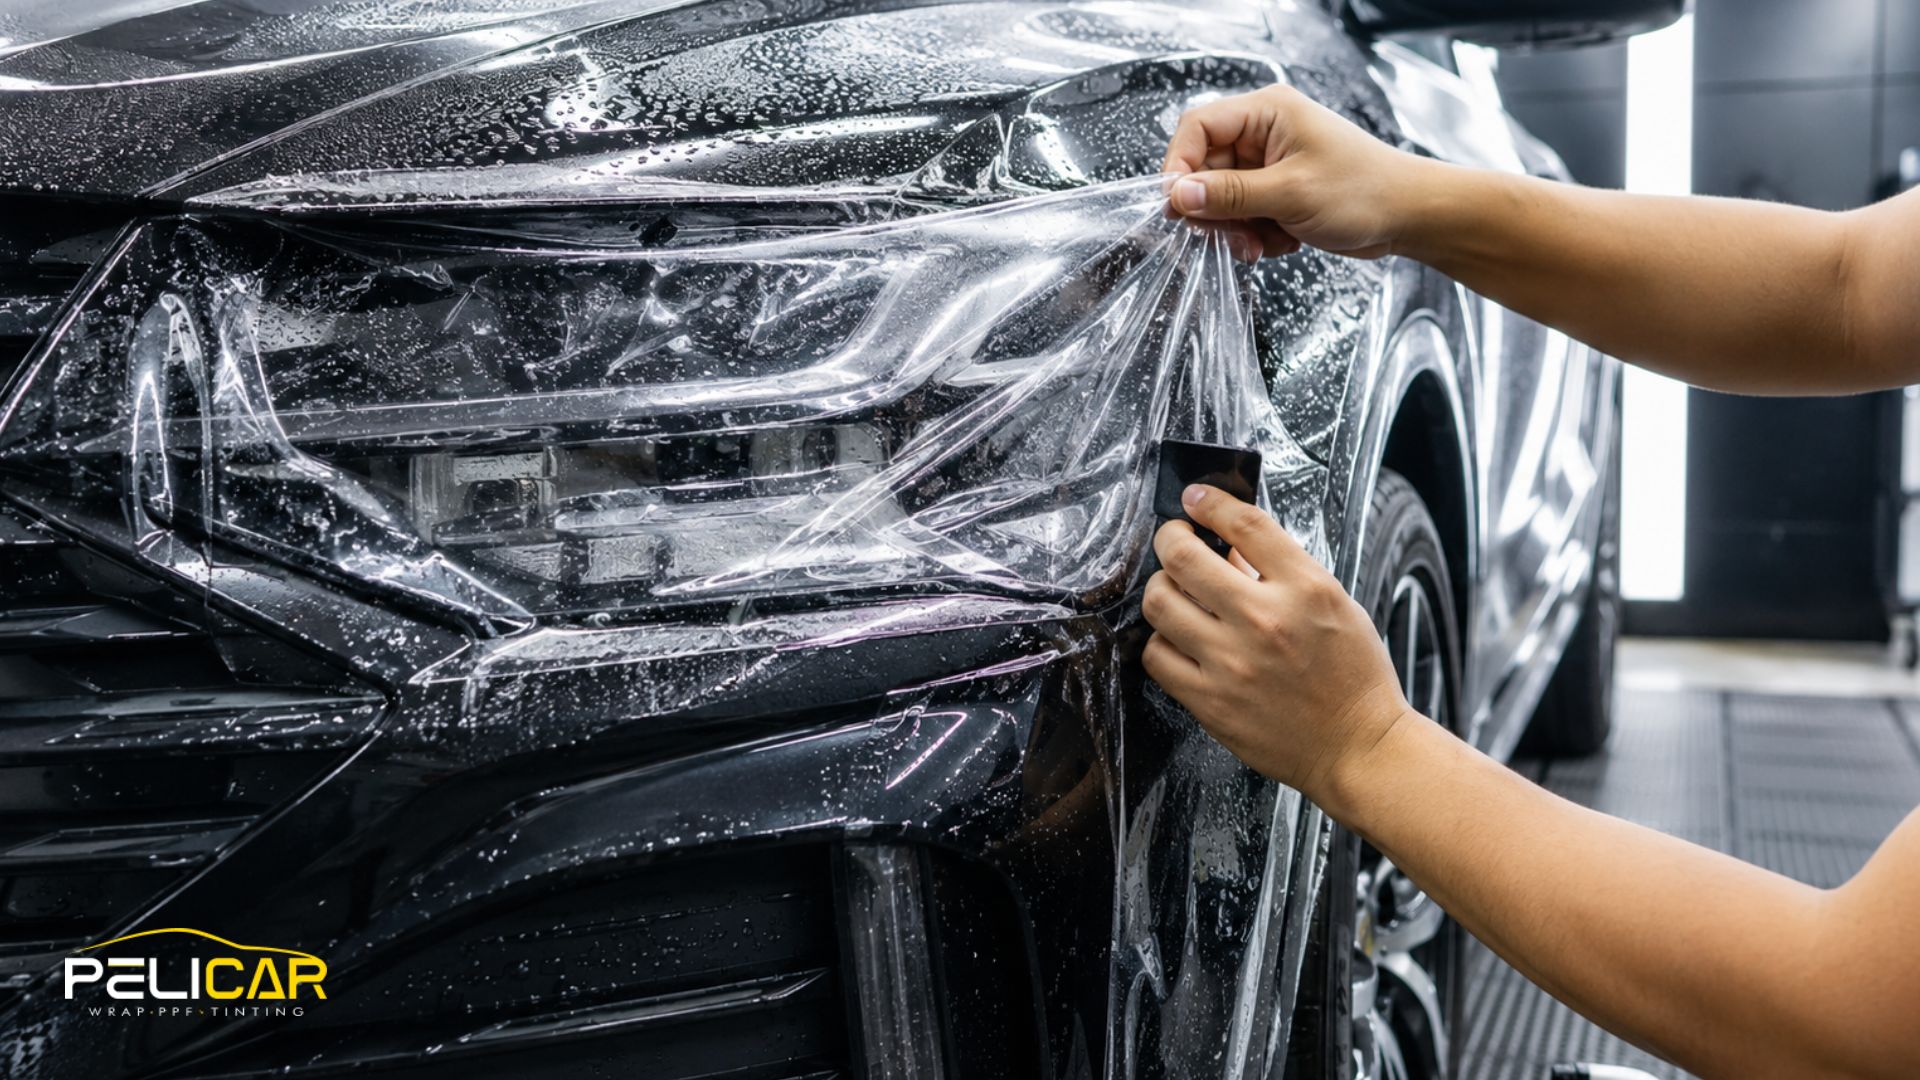
Paint protection film is installed by thoroughly preparing the paint, fitting the film to the selected panels, positioning it with an installation solution, removing moisture and air, finishing the edges, and inspecting the completed surface. Professional PPF installation depends on both careful preparation and controlled film handling to create consistent adhesion and a finish that blends naturally with the vehicle.
The exact paint protection film installation process can change from one vehicle to another. Panel geometry, film type, coverage package, sensors, vents, body lines, and other design details all influence how an installer approaches the job. There is a repeatable process behind PPF, but good installation is never simply a matter of applying the same technique to every panel.
Why Does Surface Preparation Matter Before PPF Installation?
Proper surface preparation matters because paint protection film needs clean, smooth paint for reliable adhesion and a clean final appearance. Even small contaminants trapped beneath a transparent film can become noticeable once the installation is complete.
Before applying PPF, the surface may require several levels of preparation:
- Thorough washing: Dirt, dust, road grime, and loose contamination must be removed.
- Paint decontamination: Embedded particles, tar, insect residue, and other bonded contaminants may require additional treatment.
- Product removal: Existing waxes, sealants, oils, or residues that could interfere with adhesion need to be addressed when necessary.
- Paint inspection: Scratches, swirl marks, rock chips, previous repairs, and other imperfections should be identified before film is applied.
- Correction when appropriate: Paint correction before PPF can improve the underlying finish when defects warrant it, but it is not automatically necessary for every vehicle.
One important point is that PPF is transparent. It protects the surface underneath, but it does not function like paint or bodywork that covers existing damage. A noticeable scratch or poorly repaired panel may remain visible after the film is installed.
At Pelicar, PPF surface preparation starts with evaluating the vehicle in front of us. A well-maintained newer car may need minimal additional work, while a vehicle with years of contamination or visible paint defects may benefit from more preparation. We would rather determine what the paint actually needs than automatically add unnecessary correction to every PPF installation.
How Is PPF Measured and Fitted to the Vehicle?
PPF must be accurately sized and fitted to the individual panel before it can be secured into its final position. Precise PPF film fitting helps provide the intended coverage while allowing the material to follow the vehicle’s contours without unnecessary tension.
Vehicle-specific PPF patterns can be used to create pieces shaped for particular hoods, fenders, bumpers, mirrors, and other components. The installer still has to understand how that pattern interacts with the real vehicle. Manufacturing tolerances, previous bodywork, panel alignment, and the characteristics of the film itself can all affect the final fit.
A hood is relatively broad and open, while a bumper can combine curves, recesses, vents, parking sensors, sharp transitions, and narrow sections in a single piece. Mirrors introduce tight curves. Fender edges and body lines create their own challenges. Even areas that look simple from a distance can require careful positioning once the film is actually on the panel.
That is why custom PPF installation involves more than cutting a generic sheet to approximately the right dimensions. The film needs to be sized with panel geometry, coverage boundaries, available edges, and material behavior in mind so it can sit naturally on the vehicle.
How Is Paint Protection Film Applied to the Paint?
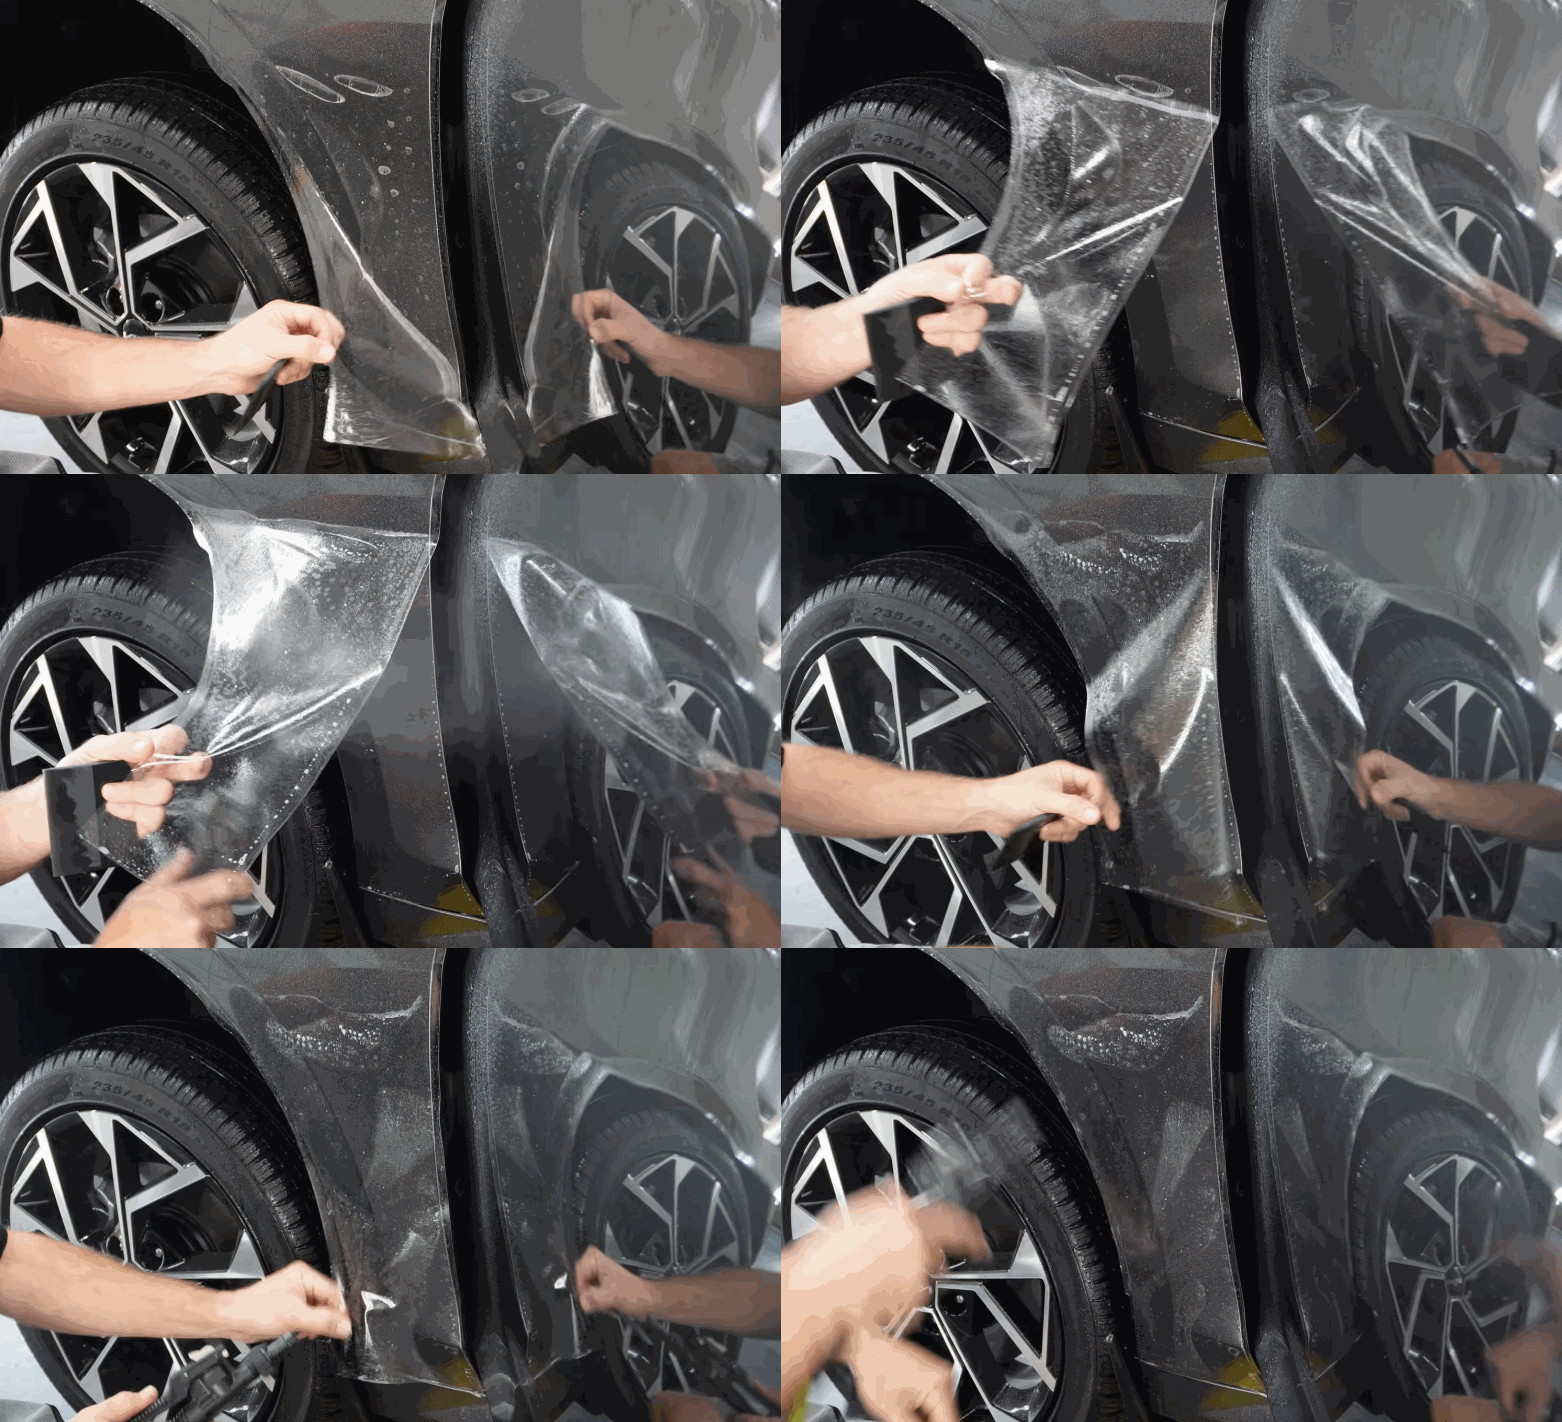
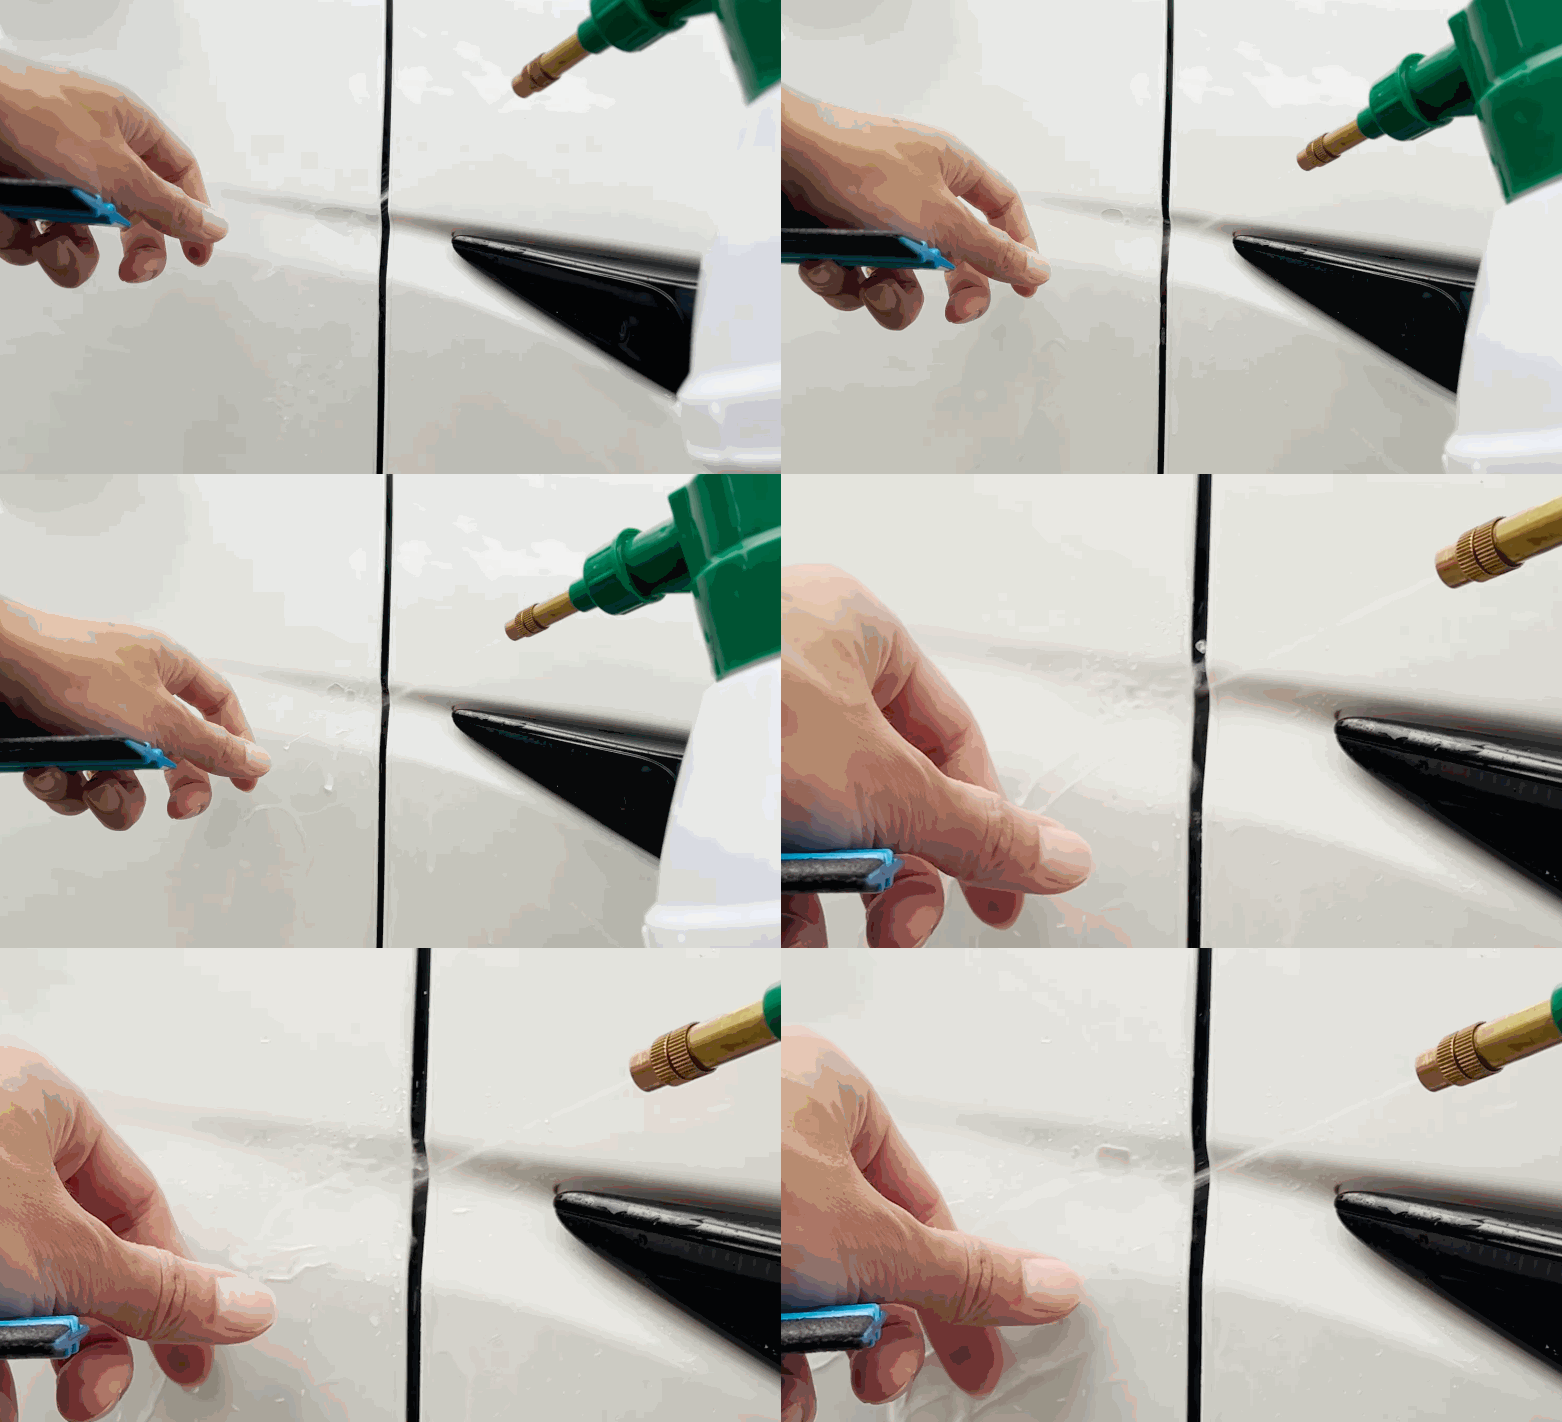
Once the surface is prepared and the film has been properly fitted, the installer positions it over the panel using installation solutions that allow the material to be aligned before final adhesion. Applying paint protection film correctly requires deliberate control of position, tension, moisture, and pressure.
A typical PPF application process follows this general sequence:
- Position the film. The material is placed over the prepared panel with installation solution allowing it to move without immediately locking into place.
- Establish alignment. Key reference points, panel boundaries, openings, and edges are checked before the film is secured.
- Control the material. Where stretching is necessary, it is performed selectively so the film conforms without placing excessive tension on sensitive areas.
- Squeegee the film. The installer works methodically across the panel, establishing adhesion while moving installation solution outward.
- Remove remaining moisture. Particular attention is given to curves, edges, and other areas where solution can become trapped.
- Secure the final areas. Edges and detailed sections are finished once the main portion of the film is properly positioned.
The squeegee work is more deliberate than simply pushing liquid toward the nearest edge. Installers establish strategic working areas so the film remains aligned while moisture is evacuated and adhesion develops across the panel.
At Pelicar, controlling tension is particularly important when we apply paint protection film around curved or highly styled surfaces. Excessive stretching can create distortion, unnecessary stress, or troublesome edges. Professional PPF installation is largely about knowing where the material needs movement and, just as importantly, where it does not.
How Are Curves, Edges, Sensors, and Complex Panels Handled?
Curved and highly detailed panels require more precise PPF installation techniques because the film has to conform without excessive tension, lifting edges, or visible distortion. In many cases, the complexity of a panel matters more than its physical size.
Curves and Recessed Areas
Modern bumpers can combine compound curves, deep openings, sharp transitions, and narrow painted sections. Mirrors and sculpted fenders create similar challenges on a smaller scale. The installer has to distribute the film carefully so tension does not become concentrated in one area.
This is one reason a small, aggressively shaped bumper section can demand more attention than a much larger flat portion of a hood. Automotive paint protection film is flexible, but that flexibility has to be managed rather than forced.
Sensors, Cameras, and Trim
Parking sensors, cameras, vents, trim pieces, badges, and other components affect how film can be positioned and finished. The appropriate technique depends on the vehicle and the location of each component, with the goal of maintaining clean coverage without interfering with its function.
Finishing the Edges
PPF edge wrapping can help make film boundaries less noticeable when the panel provides suitable access and geometry. However, wrapping every edge is neither possible nor automatically preferable. Some panels have adjacent trim, extremely tight gaps, inaccessible edges, or designs that call for a different finishing approach.
Good edge work is ultimately about creating a secure, intentional finish. The goal is not to force the film beyond what a panel allows, but to make the protection integrate cleanly with the vehicle while maintaining reliable adhesion.
What Happens After the Film Is Positioned?
Once PPF is correctly positioned, the installer removes the remaining installation solution, secures critical areas, checks the edges, and examines the panel for anything that could affect the finished result. This PPF finishing process is an important part of the installation rather than a quick final check.
Corners, curves, recessed sections, and edges deserve particular attention because moisture can remain in these areas more easily than on broad, flat surfaces. The film needs consistent contact with the paint, especially in locations where its shape naturally creates additional tension.
At Pelicar, we inspect alignment, edges, adhesion, trapped contamination, and any excessive moisture pockets before considering the work complete. We also look at the panel as a whole because PPF installation quality should be judged by how naturally the film integrates with the vehicle, not only by whether it is attached to the paint.
A newly installed film does not always look exactly as it will after it has settled. Some moisture or slight visual irregularities can change during PPF curing as remaining installation solution evaporates and adhesion develops. That does not mean every bubble, lifted edge, or visible imperfection should be ignored, which is why a proper final inspection and clear aftercare instructions matter.
How Long Does PPF Installation Take?
PPF installation time depends on the amount of coverage, vehicle design, paint condition, preparation requirements, and complexity of the panels being protected. A small high-impact package requires considerably less work than a full front or full vehicle, but panel difficulty can also change the timeline.
Protecting selected areas such as mirrors, rocker panels, or an individual bumper involves fewer surfaces to prepare, fit, and finish. A full front PPF installation expands that work across the hood, bumper, fenders, mirrors, and other included areas. A full body PPF installation requires preparation and film application across nearly every painted exterior panel, so the workload increases substantially.
Coverage alone does not tell the entire story. An intricate bumper with deep openings, sharp contours, cameras, and sensors can demand significant installation time despite being much smaller than a hood or door. Some performance vehicles and newer aerodynamic designs require particularly careful material handling around these details.
We don’t consider faster installation automatically better. Surface preparation, precise fitment, edge finishing, and inspection all need enough time to be performed correctly. Rushing those stages simply to promise a shorter turnaround can work against the appearance and durability that PPF is supposed to provide.
What Should You Expect After PPF Installation?
Freshly installed paint protection film needs time to settle and develop full adhesion, so following the installer’s initial aftercare recommendations is important. During this period, slight haziness or small moisture pockets may sometimes be visible as residual installation solution works its way out.
The exact PPF curing time can vary with the film, installation conditions, temperature, humidity, and the vehicle itself. Rather than treating a specific number of days as universal, owners should follow the instructions provided for the film installed on their vehicle.
Good PPF aftercare also matters after that initial period:
- Avoid washing the vehicle until the installer says the film has had sufficient time to settle.
- Do not aim a pressure washer directly at film edges, particularly shortly after installation.
- Use safe washing methods rather than aggressive brushes or abrasive products.
- Remove bird droppings, insects, road grime, and other contaminants promptly.
- Check film edges periodically and have unusual lifting or damage evaluated rather than picking at the material.
Those habits are especially useful in Malden because the contaminants reaching a vehicle change throughout the year. Massachusetts winters bring salt, dirty slush, sand, and road-treatment residue, while warmer months can introduce insects, tree residue, and other organic contaminants. Regular driving throughout Greater Boston adds another layer of road grime.
Effective paint protection film maintenance does not need to be complicated. Gentle cleaning, sensible contaminant removal, and attention to the condition of the edges go a long way toward keeping the film looking and performing as intended.
Why Does Professional PPF Installation Matter in Malden, MA?
Professional PPF installation matters because the film’s appearance and protective performance depend heavily on how the paint is prepared, how accurately the material is fitted, and how well difficult edges and contours are handled. A premium paint protection film cannot compensate for careless application.
For vehicles in Malden, that installation quality has practical value. Trips on I-93, Route 1, and other heavily traveled roads around Greater Boston can repeatedly expose front bumpers, hoods, mirrors, and fenders to loose particles and debris thrown by surrounding traffic. Winter adds sand, salt, road-treatment material, and dirty moisture to the equation.
Temperature swings are another reason secure edges and proper adhesion matter. Massachusetts vehicles can experience summer heat, freezing winter conditions, snow, rain, and repeated wash cycles over the course of a year. PPF needs to be installed with those long-term demands in mind.
Film quality and installation quality are therefore two separate considerations. Choosing a reputable material is important, but the preparation, fitting, tension control, and finishing determine how that material actually sits on the vehicle. When evaluating a PPF installer in Malden, MA, it makes sense to ask about both the film being used and the installation process behind it.
For car paint protection in Malden, the goal is not simply to cover a panel with film. The goal is to create protection that fits cleanly, stays secure, and handles the type of road exposure the vehicle encounters throughout the year.
Conclusion: Professional Paint Protection Film Installation in Malden
A successful paint protection film installation depends on several connected stages: preparing the surface properly, fitting the material accurately, controlling its placement, finishing complex areas carefully, and inspecting the work before the vehicle leaves the shop. Skipping quality at any one of those stages can affect the final result.
The process should also adapt to the vehicle. Paint condition, panel geometry, coverage goals, film selection, and body design all influence how PPF needs to be installed. That is particularly relevant for vehicles regularly traveling throughout Malden and Greater Boston, where highway debris and changing seasonal conditions can put exposed paint through repeated wear.
At Pelicar, we approach professional PPF installation around the vehicle and the protection it actually needs. Whether you’re considering targeted high-impact coverage, a full front, or more extensive paint protection film, contact us to have your vehicle evaluated. We’ll help you choose appropriate coverage and install it with the preparation and precision needed for a clean, durable result.
4.7 STARS 773 Google reviews
Window tinting service in Malden, Massachusetts